Article by Mistress Calia
Hi, I’m Calia, and I make erotic hypnosis content. Let me guide you through a snapshot of my process so you can understand not only what goes into the creation of a hypnosis file, but also how you might be able to do the same thing yourself. That might be for private use on yourself or a partner, or maybe you’d like to become a content creator.
Step 1: Inspiration
Let’s start at the beginning, assuming you really have no idea what you want to make. You need inspiration, which is so often depicted as this flash of knowledge, the eureka moment. That’s a little bit different from reality. Inspiration occasionally comes that way, I have dreamed some of my file ideas, but mostly it comes from putting the time into research.
You may have a clear idea already of what you want to hear or what you think someone else would want. If not, browse the internet, be an active participant in the hypnosis community, and you will quickly have plenty of ideas. You can combine them with your own interests, popular culture, literary references, whatever you may want to use to build a concept.
The key point here is that you need to seek out inspiration. Browse the erotic hypnosis reddit while you watch a Marvel movie, and you just might end up wanting to make a hypnotic supervillain file. You may draw on literary references and make files about Sleep as a deity.
You can entirely avoid roleplay and just dive into your own kinks, creating content that revolves around scenes and settings that might replicate a bedroom or dungeon scene. The trick is to match a hypnosis idea to another idea. You certainly can just hypnotize someone for the sake of it, but you probably want to use hypnosis to achieve something, even if in the erotic setting that’s just giving them an orgasm.
Another great way to maintain a flow of ideas is to keep a journal, physical or digital. It doesn’t have to be a hefty tome of your best ideas, I use a list app on my phone and add a sentence if inspiration strikes. I have hundreds of terrible ideas now, but there have been some gems among them. The inspiration stage is mostly ignoring quality control in favour of having lots of ideas.
Step 2: Scripting
The next step in file creation is putting pen to paper, or more likely fingers to keys. Once you settle on an idea you like, you need to either build out a full script if you’re like me, or some bullet points to work from if you can improvise.
Either approach is valid, but you should have a clear plan and structure. Even if you don’t script fully, you need to know where the file is set, who is involved, what will happen, how you’ll get there, why they should listen, and when things will happen such as the induction, deepener, and wakener.
I wrote another article breaking down how I approach scripting that might be more helpful, so check it out here.
If you’re creating content I do advise against fully improvised work until you have a clear and established style, tone, and a strong sense of structure. If you’re already an experienced hypnotist bear in mind that when you don’t have a partner to work with, you may not know when to move forward, or when to wake. You don’t get visual cues, you have to think in terms of story and pacing, instead of about how your subject is reacting.
This is why I recommend a bullet point list of things to hit, and timings. This is how broadcast media is created, and it ensures a strong sense of structure. When I forgo this in scripting, I usually create a weaker product, but when I spend the time to build the structure first, decide on timing, I get great feedback and I’m happier with the result.
A structure for a hypnosis file can be, loosely:
| Time | Content |
|---|---|
| 0-3 mins | Introduction, scene setting |
| 3-6 mins | Building rapport |
| 6-10 mins | Breathing and relaxing |
| 10-15 mins | Induction |
| 15-18 mins | Deepener |
| 18-22 mins | Trigger install |
| 22-24 mins | Wakener |
| 24-28 mins | Post-hypnotic trigger use |
| 28-30 mins | Outro |
Of course, this is only one example, and I’ve used structures that vary wildly from this for much shorter, much longer, and much less traditionally flowing files. This is just an example to show you how you can build your file, and perhaps this is all you need if you improvise which is a big time saver. Personally, I spend hours scripting each month, writing anything from 10,000 to 20,000 words over 4-8 scripts. It’s important to be aware of your own abilities and available time.
If you have a full script, be sure to read it back and make sure it flows smoothly and feels natural to perform for you, that it’s written in a conversational tone that sounds like speech. Often, we write very differently to how we speak – and I would never say that sentence aloud, as an example. I’d say, aloud, we don’t talk how we write. Which is barely grammatical but sounds more natural.
Step 3: Recording
So, you have a script or an outline and you’re ready to perform it. What does that entail?
First of all, you need to choose your environment. Much more important than a good microphone is a quiet place that’s low on echo. If you don’t have a quiet place, look for times of day when external sound is reduced. Late at night or very early. To avoid echo, soft furnishings can help. Hang blankets from doors, close curtains, toss clothes around. The less hard, flat surfaces in a space, the less sound bounces around – remember sound is physical, it’s vibrations. Those vibrations hit hard surfaces and come back, creating echo, which your brain filters out in regular life, but does not on a recording.
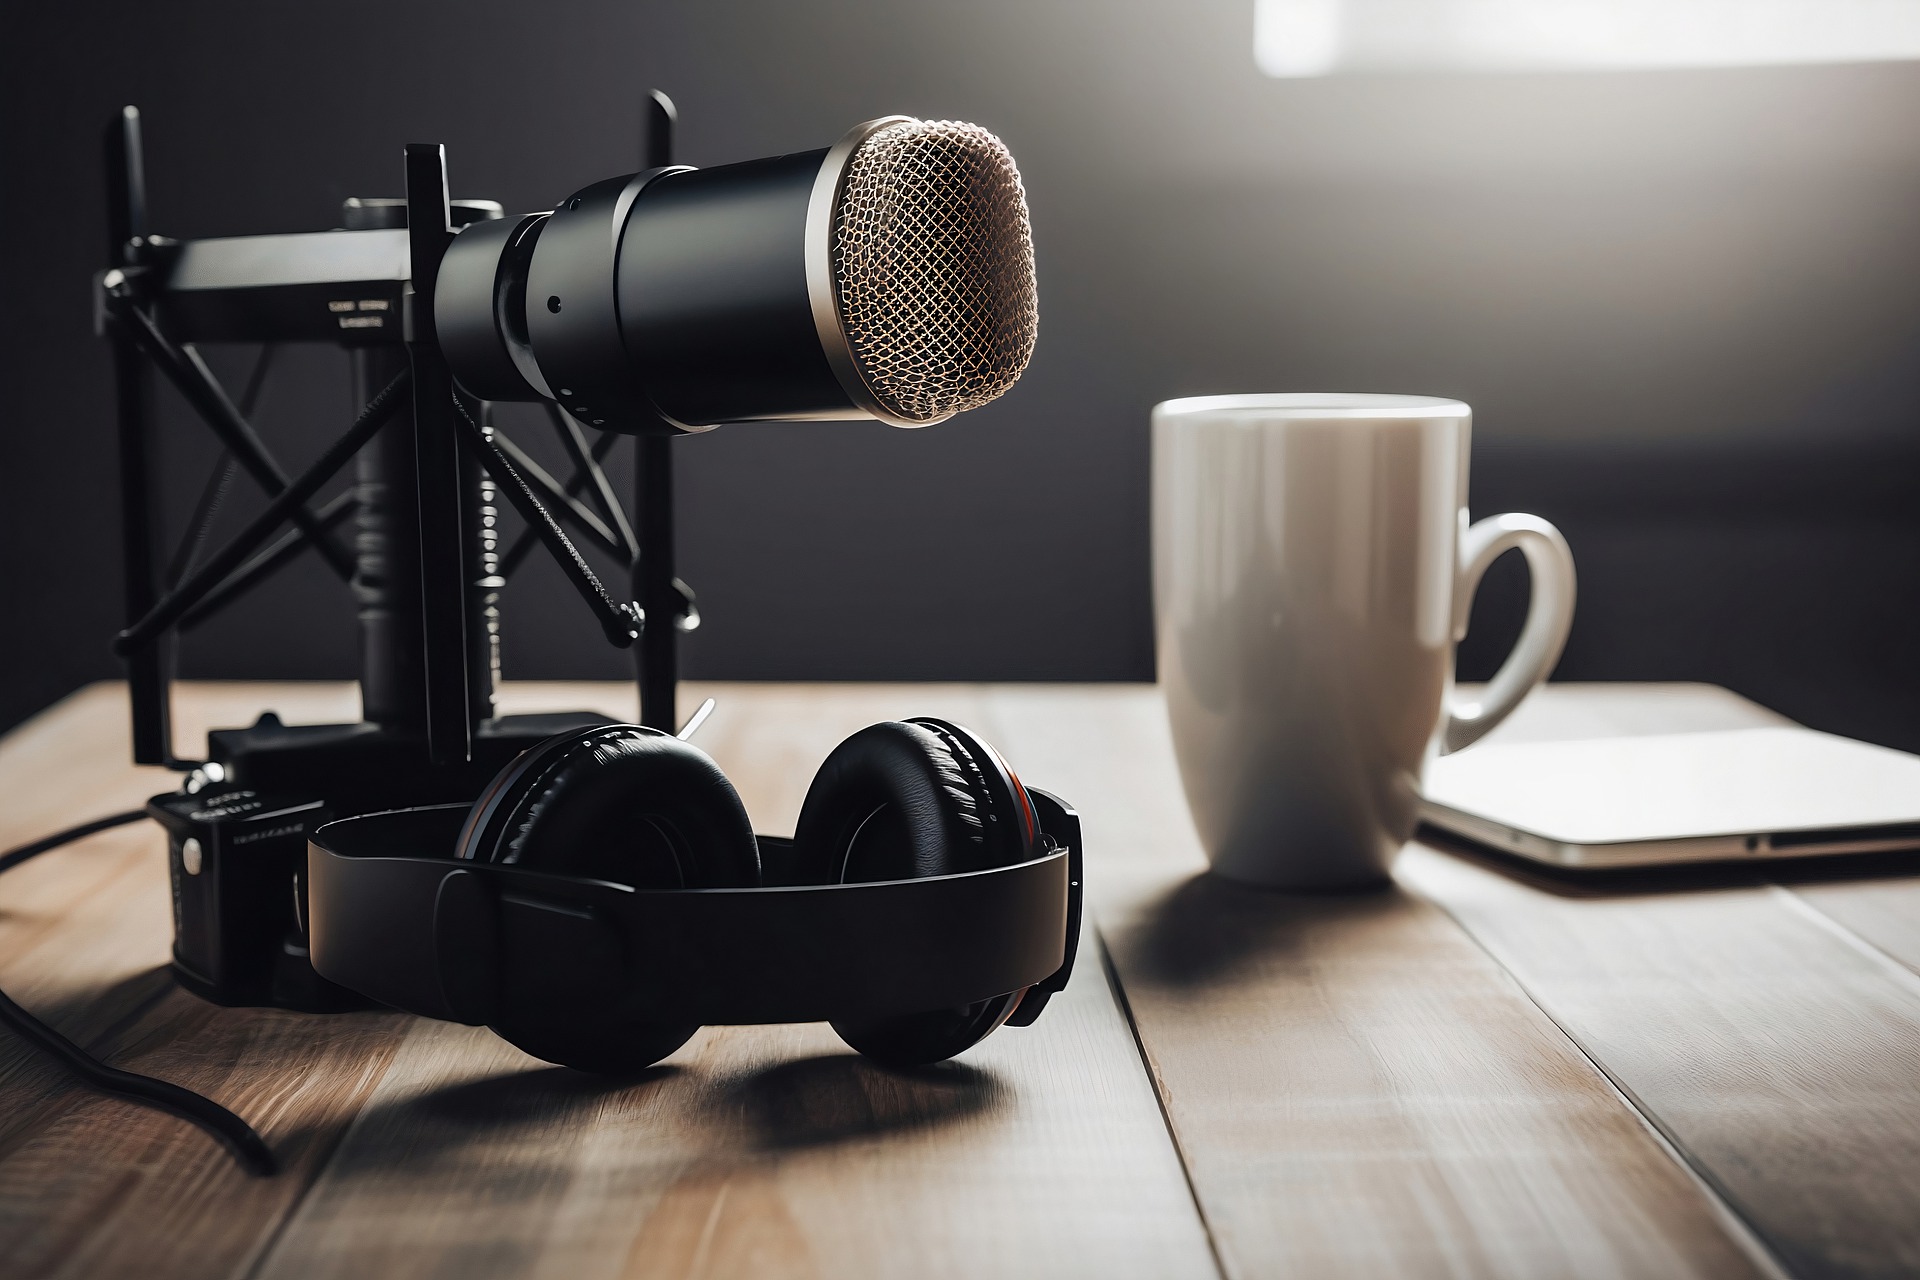
Now you’ve prepared your space, you can use any microphone you want. If you’re very serious about content creation you probably want a high-quality microphone, but what we consider ‘high quality’ can vary considerably, so let me introduce you to the patented Calia MethodTM for microphone choice.
It’s quite simple: You need to spend twice as much to get a 20% quality increase, once you’re above about $100. A $100 dollar mic such as a Quadcast or Blue Yeti will be good, probably all you really need. To get a 20% audio quality upgrade you might look at the Rode NT-USB+ which comes with some noise reduction effects built in.
You can go up to $400 to hear better from there, to something like a Shure SM7B, and now you’re in need of an audio interface because that microphone uses XLR cables, not USB. It can get out of control fast, so don’t overcommit – the gains for each upgrade get smaller, returns diminish fast.
Another factor to consider is type of microphone. A Blue Yeti is a condenser microphone, which is sensitive and uses electric power to boost input gain (how loud you are). That means it picks up background noise a lot. The Shure is a dynamic mic, which is not powered, and picks up less external noise, but does poorly with whispered audio and quiet voices. Purchase according to your voice and needs.
And buy a pop filter. No excuses. No one needs to hear your explosive P-ing.
Ok, that’s it for gear. Plug in, open your software (Audacity is free) and record with your vocals peaking around -6db. You can have things like finger snaps peaking, but your voice never should or will get distorted on the recording. If you don’t know what that means, that’s ok – YouTube has a wealth of tutorials for this stuff, and you can entirely self-teach.
Make sure you review your recording before you commit to a long file. Listen back for peaking (too loud so your voice gets distorted), plosives (a pop sound on words with the letter ‘p’ mostly), and any other unwanted noise. You may breathe loudly or make wet noises with your mouth. Don’t worry too much about that if they sound relatively normal, because they are, but if you find yourself taking huge breaths between lines, it’s a sign you’re going too fast.
The key is to record something that has a clear tone, doesn’t have much background noise, and is paced well. Equipment is the lowest priority way to achieve that. Setting up your space and working on your delivery will matter much more.
Step 4: Editing Raw Audio
Now you’ve got an audio file, time to edit!
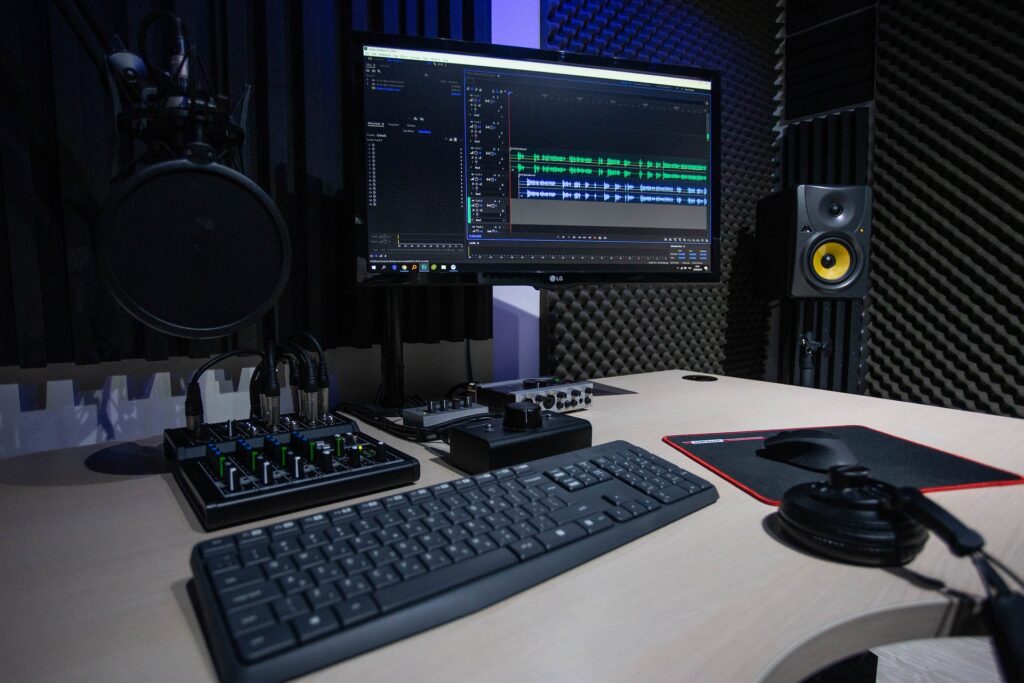
This can be a very time-consuming process, so be prepared to spend many multiples of the recording duration on the editing process.
First thing you need to do is a listen through to remove errors. Any time you made a mistake and restarted must go. You’ll need to cut those out completely, as well as any coughs, sneezes, cat noises, rustles, etc. Just the regular stuff in between lines.
The hard part comes next – removing audio issues and tweaking. There’s a science and an art to all this, so you’ll need to work on how you want your own voice to sound. You may want to reduce the volume of your breaths. You also may want to tweak the bass or high end of your vocals. There are some basics you should always do, though.
First, noise reduction.
I doubt you have a studio environment, so make sure you run some form of noise reduction. I use the default tools in Adobe Audition for this, and most programs have something. Make sure it’s only affecting background hum such as from your computer, and not your voice. You should aim to reduce only slightly, to avoid adding a robotic tinge to your voice.
Now you should use a de-esser too. This reduces sibilance, the hissing sound on words with the letter ‘S’ in them. That creates an audio artifact on recordings that sounds unnatural. This is a more complex step, so I recommend following a tutorial for your chosen software, but you basically need to identify your personal sibilance frequency and remove it as best you can.
You can add EQ to boost bass or mids or highs depending on how your voice sounds and what you want. I find my microphone biases toward the bass end of the audio, so I do a light boost on my high frequencies to make the audio sound more like I think I do in reality.
Compression or normalizer can make sure all your audio has a consistent volume, so your listener does not strain to hear sections, but don’t overdo it because you’ll boost up your background noise and make a mess of any whispered sections. Light touch is always best to retain the natural vocal characteristics and dynamics.
You should be aiming for your final audio to be relatively consistent and of audible volume. I mentioned peaking at -6db for recording. For the actual release of the file, you just need to make sure it’s not lower than that, and ideally sitting at about -1db, just beneath peaking. You can boost up your audio volume and use a limiter effect to achieve that, or set your LUFS – and again I recommend a tutorial online for this, it’s easier to see it than read it.
Step 5: Adding Effects
My favourite part of editing is building a soundscape, particularly for roleplay files. To do that you’ll use a combination of audio effects and sound effect files, as well as music and ambiance. You achieve this in a multitrack editor, where you can add new effects without putting them into/on top of your audio file, rather they sit on a separate line – as you might imagine with a song where you have vocals, drums, bass, guitar, piano, and so on.
To begin, you need to be mindful about what you want. Let’s imagine you’re creating a scene where a sexy woman seduces a priest. You’re so naughty, coming up with that.
That means you need to set the scene with perhaps heels clicking on the floor, moving from outside with wind and rain and concrete, to inside, with wood floor and the sound of organ music. That’s a lot of effects for a few seconds of audio, but that’s what makes a great scene.
Now you’re in the church you also need to alter your voice. A church is a big, echoing space, so pop some reverb on your vocal track.
That’s how you build a scene, but perhaps you want to add a more ‘hypnotic’ effect to your voice. Reverb can help, but don’t overdo it. You can also double up your vocal for a deeper effect or pan to one side for whispers into someone’s ear. Audio layers give you the chance to get creative, so this is about experimenting with what you like. I often hear audio from other sources such as podcasts or songs and try to recreate their sound style to understand how to do it – it’s a great way to learn and every new technique is a new tool you can use for the right moment in a file.
I borrowed a specific style of chorus (duplicated voices) from an Olivia Rodrigo song for one file, for example. Because inspiration should come at every stage of the process, in every element of creation. And I suppose that brings us rather neatly back to the start.
Summing Up
Before I leave you to go create something brilliant, do bear in mind that each step along the way is considerably time intensive. Scripting a 20-minute file can take me up to 6 hours depending on the level of research and complexity of dialogue.
Recording for 20 minutes may take over an hour. Editing that down several more, and that’s before the work on adding effects and repairing audio issues. After all that, you have to package, share, and market your content if you’re a creator. Each individual file is probably a day of work at least, and that’s not counting time spent researching and learning the craft in general, taking courses, watching videos, reading.
This is a complex process with many parts, so take your time, and get each one right. You’ll spend less time editing that way!
